Build a Game in Vuejs with Phaser
Nowadays you can create almost everything with JavaScript, also games 🎮!!! The cool thing about this is that you don’t need to be an expert making games to start, and there are a lot of tools, for example Phaser.

Phaser let you create games with only JavaScript, I find this exciting and is the reason why I’m playing with it in some of my Twitch sessions.
One of the weaknesses that you can find in this kind of libraries is that are not in the same level of evolution than others like Vue and React (if we talk about UI elements). To create a button in Phaser is more complex than in Vue.
This is why some developers started to use React and Vue in combination with Phaser, in this tip you will learn how to integrate Phaser and Vue.
First create a new project with the CLI:
vue create game
Navigate to the project and install phaser and ion-phaser
npm install --save phaser @ion-phaser/core
This package will help ups to easily integrate Phaser with libraries and frameworks like Angular, React or Vue, you will find more information in their website.
The next step is to add ion-phaser to our main.js file:
import { defineCustomElements as defineIonPhaser } from '@ion-phaser/core/loader';
import Vue from 'vue';
import App from './App.vue';

Vue.config.productionTip = false;
Vue.config.ignoredElements = [/ion-\w*/];

defineIonPhaser(window);

new Vue({
  render: (h) => h(App),
}).$mount('#app');
Ok, now its time to open our example component, ‘HelloWorld.vue’ and add the ion-phaser component.
The layout will look like:
<template>
  <div class='hello'>
    <div  @click="initializeGame"  class="flex" >
      <a  href="#1"  class="btn">Initialize</a>
    </div>
    <ion-phaser
      v-bind:game.prop='game'
      v-bind:initialize.prop='initialize'
    />
  </div>
</template>
And in the code we simply add the game object, for this example a really simple game object:
import Phaser from "phaser";

export default {
  data() {
    return {
      initialize: false,
      game: {
        width: "100%",
        height: "100%",
        type: Phaser.AUTO,
        scene: {
          init() {
            this.cameras.main.setBackgroundColor("#24252A");
          },
          create() {
            this.helloWorld = this.add.text(
              this.cameras.main.centerX,
              this.cameras.main.centerY,
              "Hello World",
              { font: "40px Arial",  fill: "#ffffff" }
            );
            this.helloWorld.setOrigin(0.5);
          },
          update() {
            this.helloWorld.angle += 1;
          }
        }
      }
    };
  },
  methods: {
    initializeGame() {
      this.initialize = true;
    }
  }
};
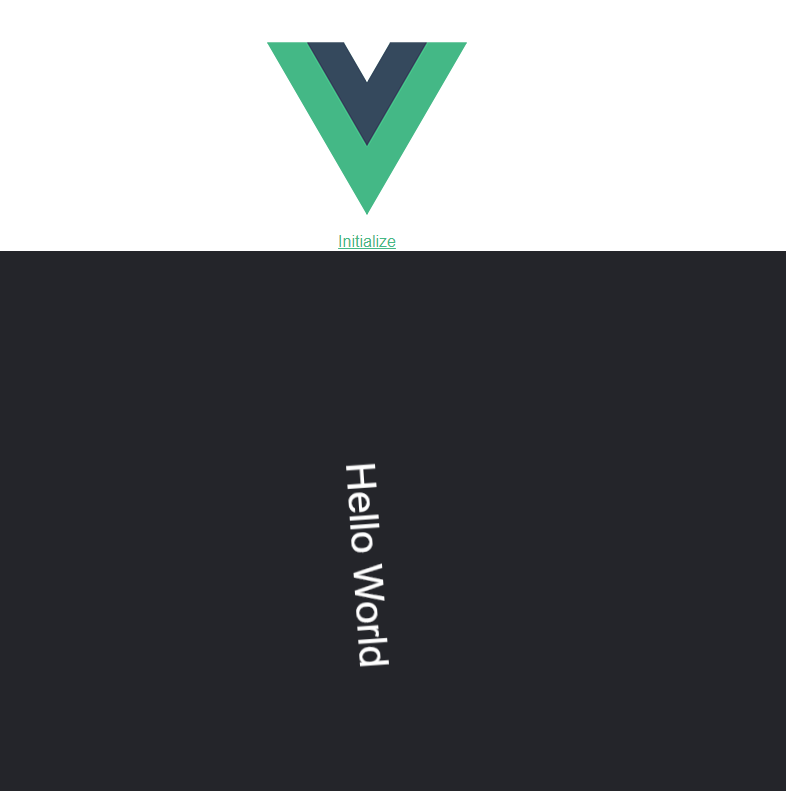
And yeah! both are integrated!

In a real world example what I recommend to you is to have a separated file game.js to have the game configuration and split the login in different scenes.
I also like to have a Vue component called ‘
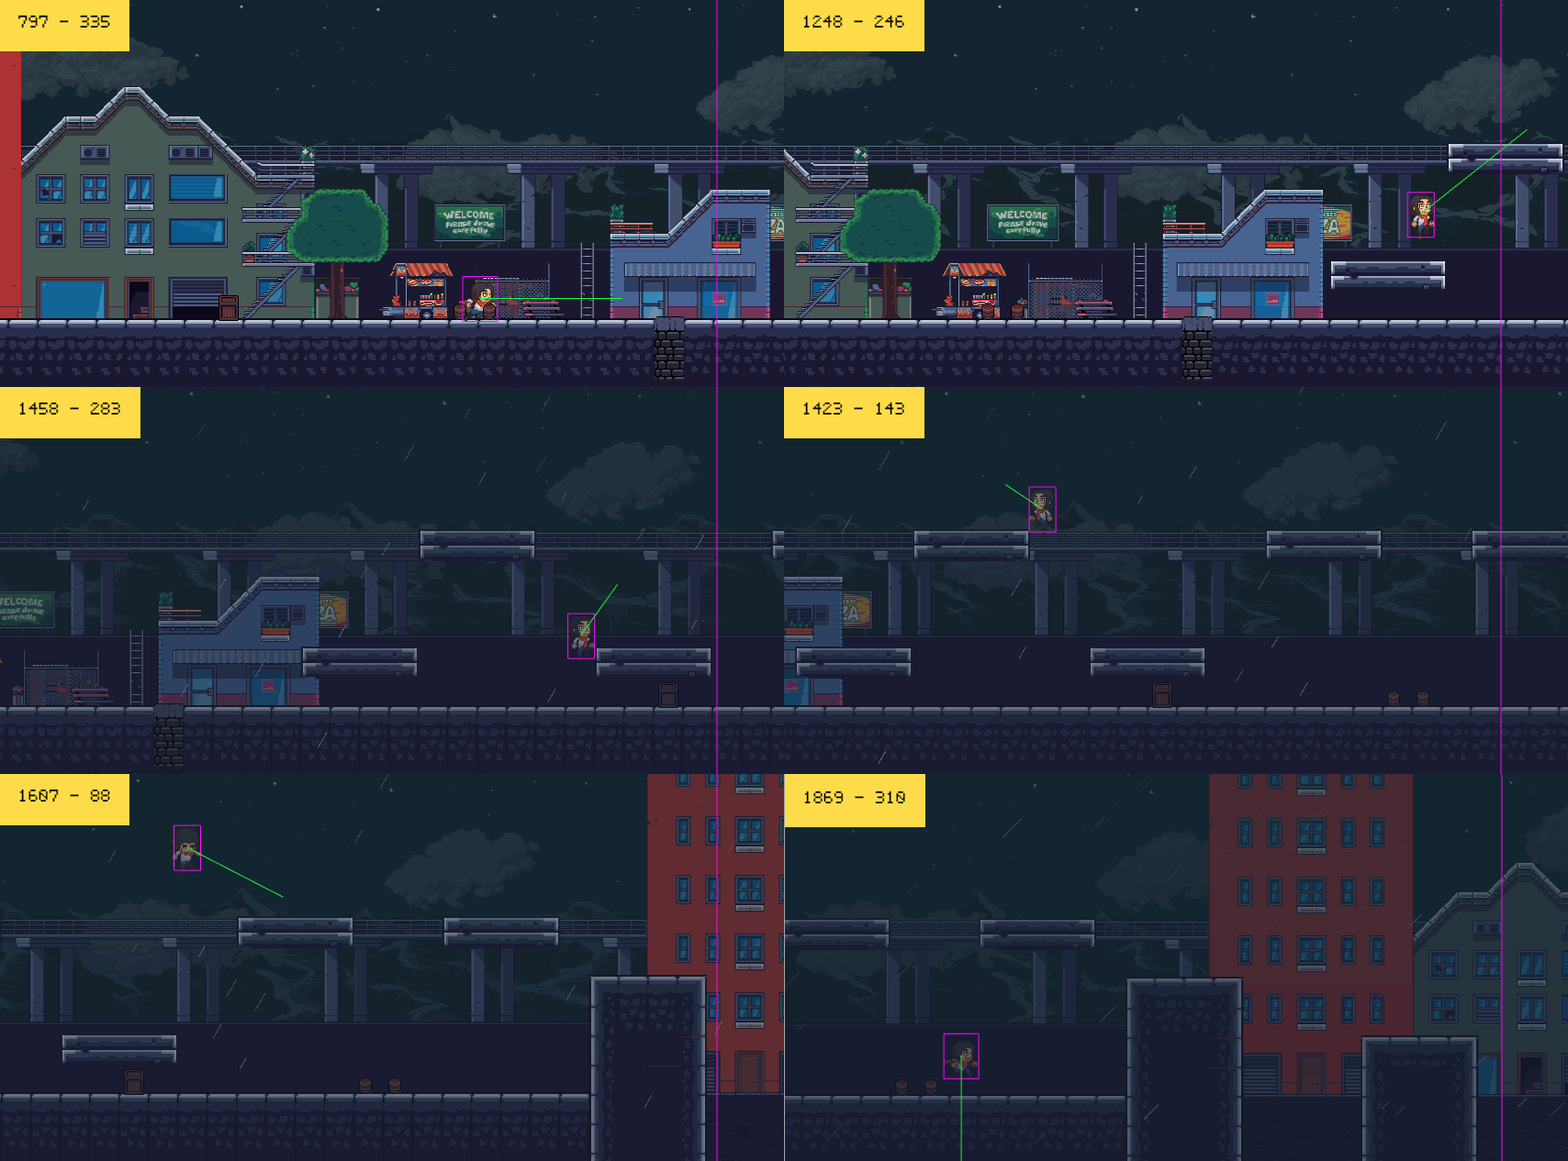
I’m working in a game using this kind of technologies, just to train myself and improve my coding skills.
Do you want to start to practice too? C’mon lets play and make games 🤗🤩

(Image of my game :D)
Related Articles
The new Provide and Inject in Vue 3
Getting stuck into the prop drilling? Learn how provide/inject can make your components more flexible and independent in this short tutorial.
Jul 18, 2022
The 101 guide to Script Setup in Vue 3
Don't you know about Script Setup yet? Check out this short article now and learn the nicest way to define a Vue component right now!
Jun 20, 2022
Hybrid Rendering: the secret way to smoothly test Vue.js components
Find out how to combine Deep and Shallow Rendering in order to achieve a flexible solution to test your Vue.js combining the best of both worlds.
Mar 7, 2022
Sponsors
VueDose is proudly supported by its sponsors. If you enjoy it, consider supporting it to ensure the project maintainability.


